Setting up a trial
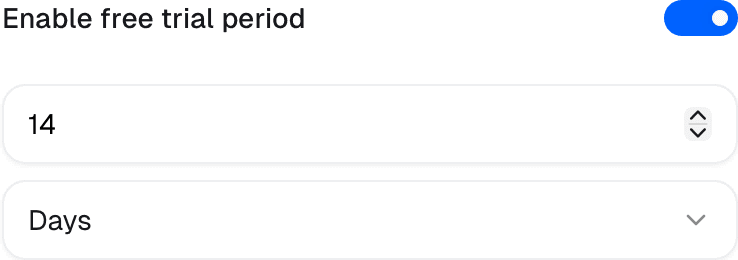
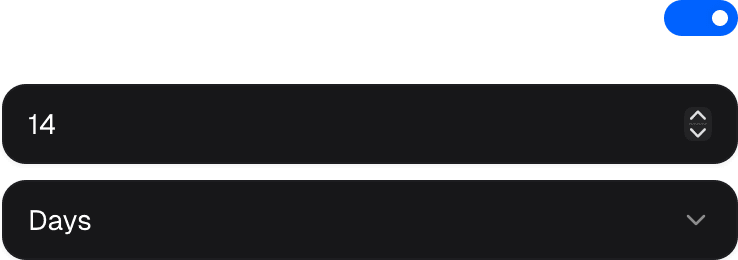
You can set up a trial period through the following means:- When creating or editing a product.
- When creating or editing a checkout link.
- When creating a Checkout Session through the API.
- A unit: day, week, month, or year.
- A duration: a number representing how many units the trial will last.
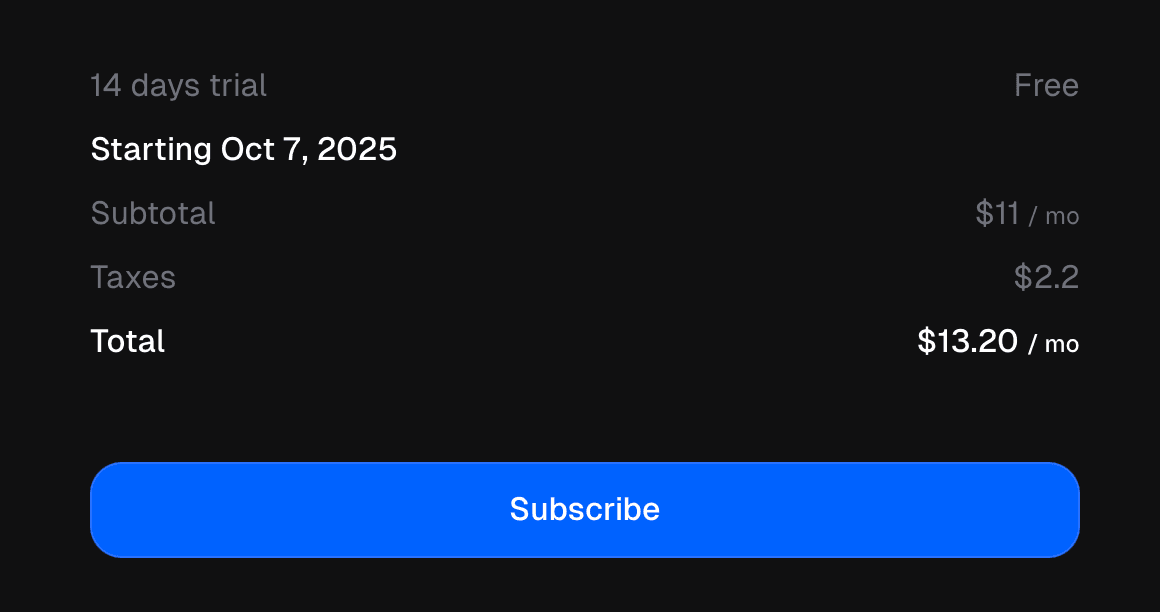
Starting a trial
When a customer checks out a subscription product with a trial period, they will not be charged immediately. Instead, they will have access to the product for the duration of the trial period. We’ll still collect their payment information at checkout, but they won’t be charged until the trial period ends. This means that if they decide to cancel before the trial ends, they won’t be charged at all. Once the trial period ends, the customer will be automatically charged for the subscription, and their billing cycle will begin.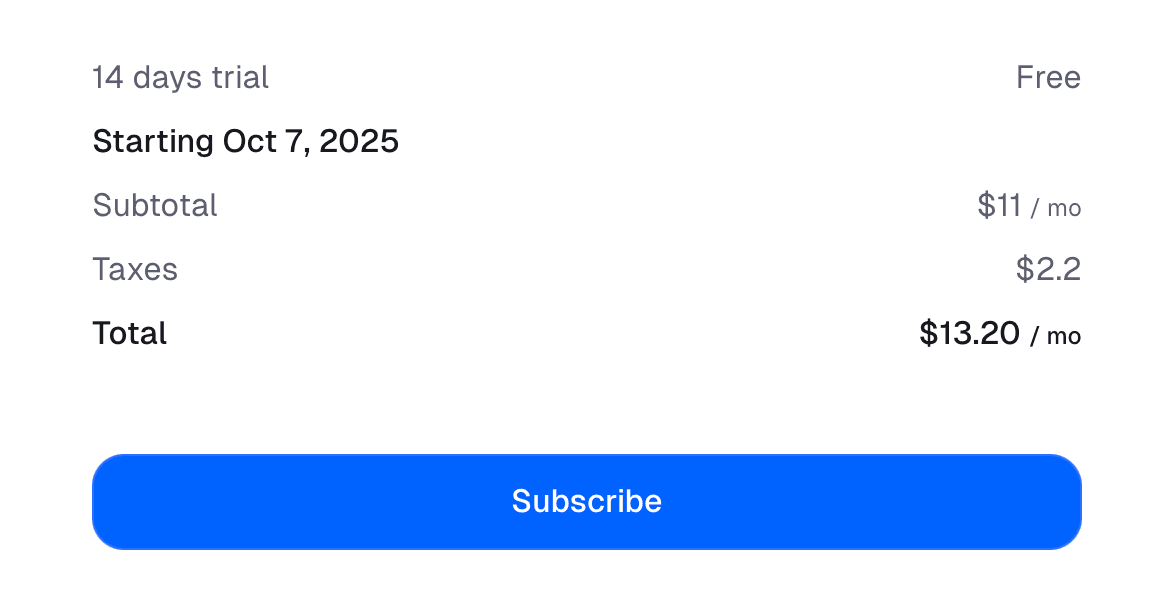
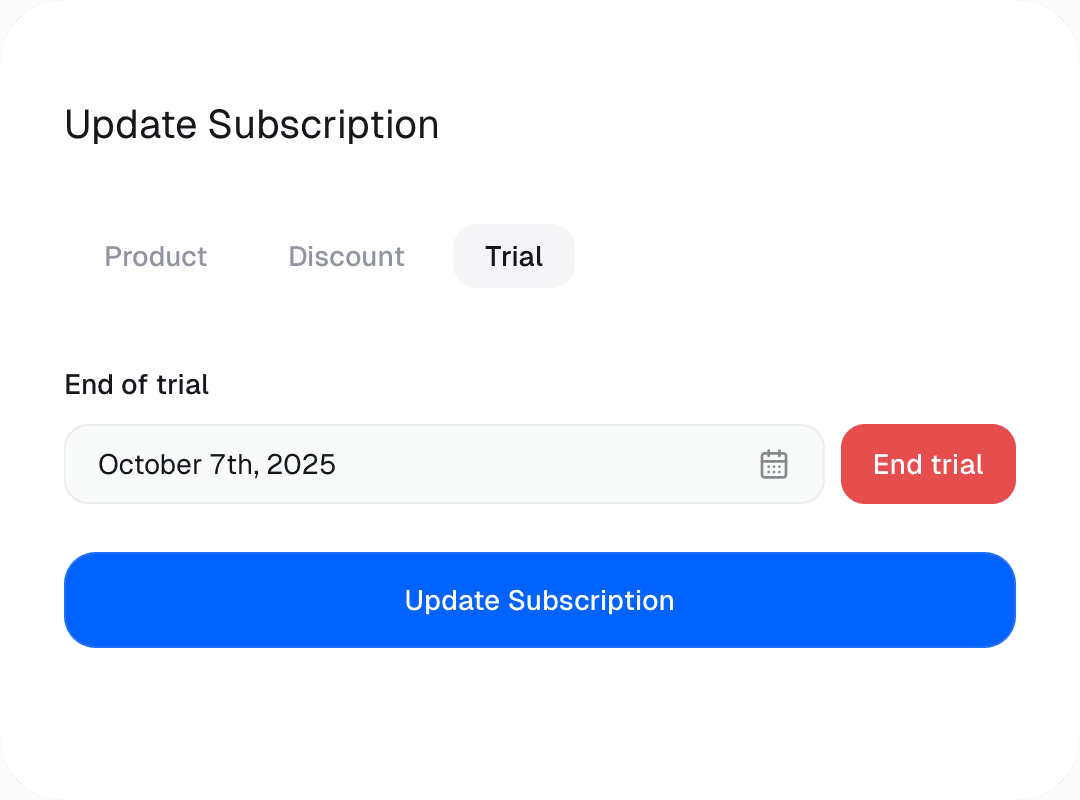
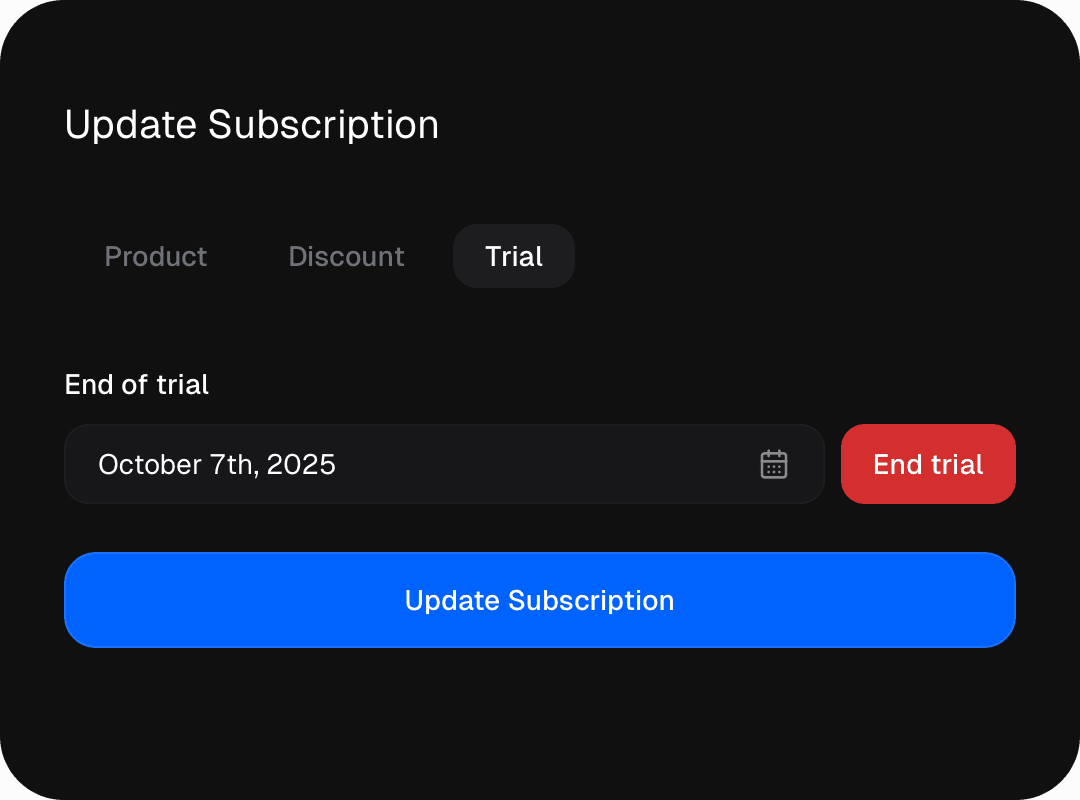
Adding, extending or canceling a trial
For existing subscriptions, youu can add, extend or cancel a customer’s trial period at any time through the dashboard, from the subscription details page. Click on Update Subscription, then click on the Trial tab. To add or extend a trial, set a new trial end date in the future. If the subscription was active, its status will be changed to trialing, and the billing will be postponed until the end of the trial. To cancel a trial, click on the End trial button. The subscription will become active immediately, and the customer will be charged immediately for a new billing cycle.