Go to OAuth Applications in Account Settings
Go to Account Settings > Developer > OAuth Applications and click the 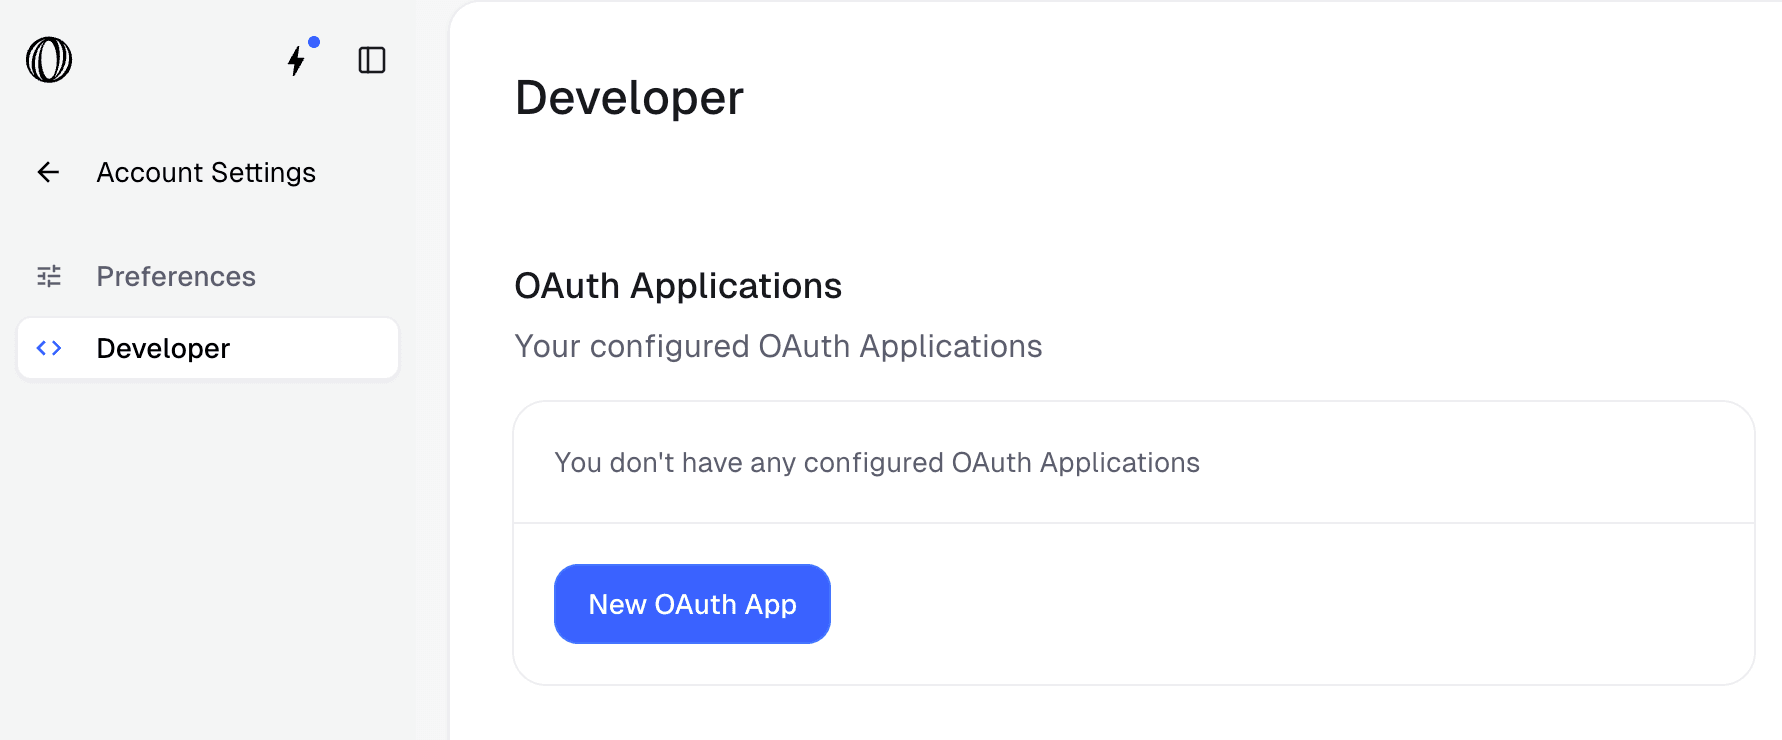
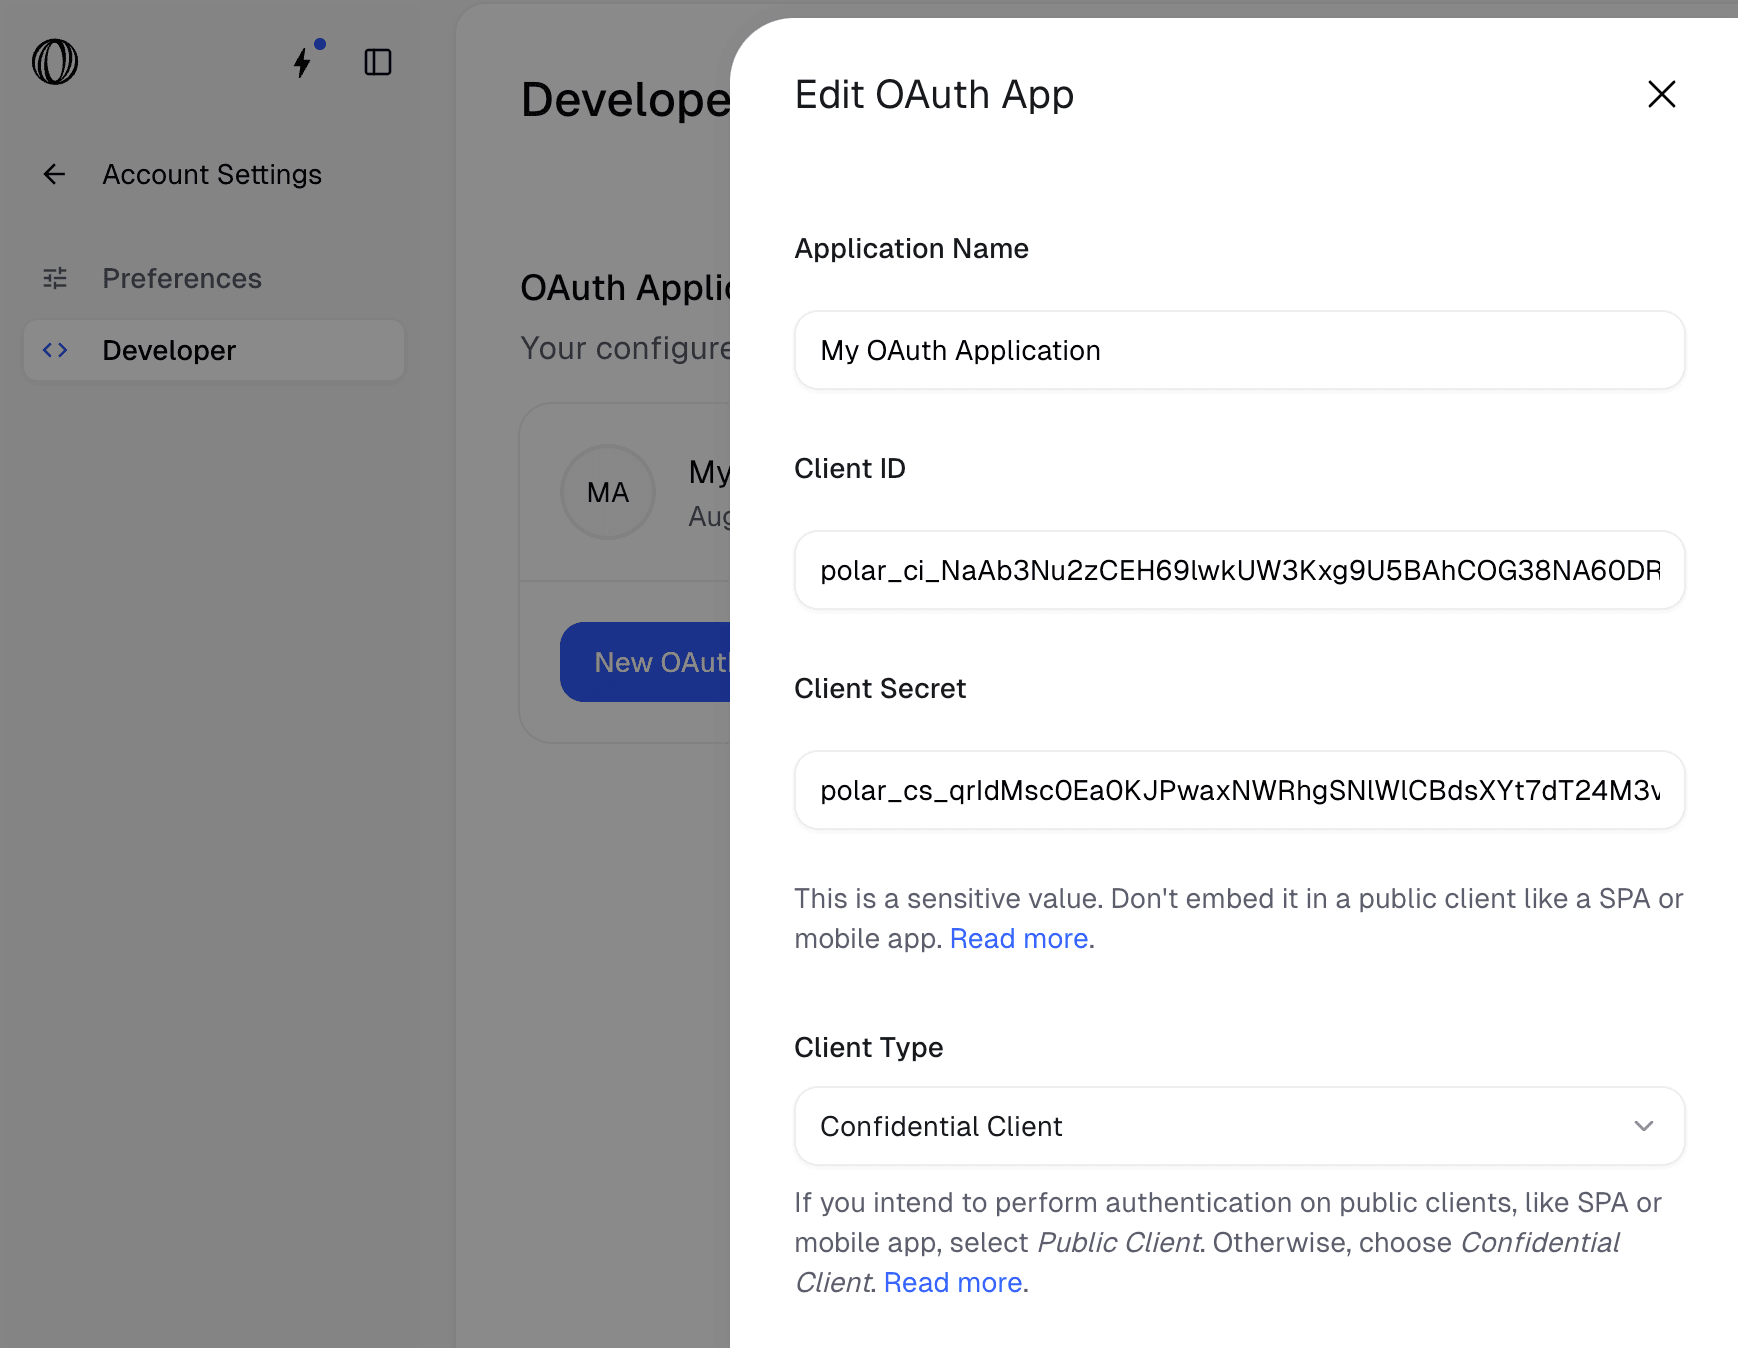
New OAuth App button to start obtaining the OAuth 2.0 client_id and client_secret values.Fill the details for your OAuth 2.0 application
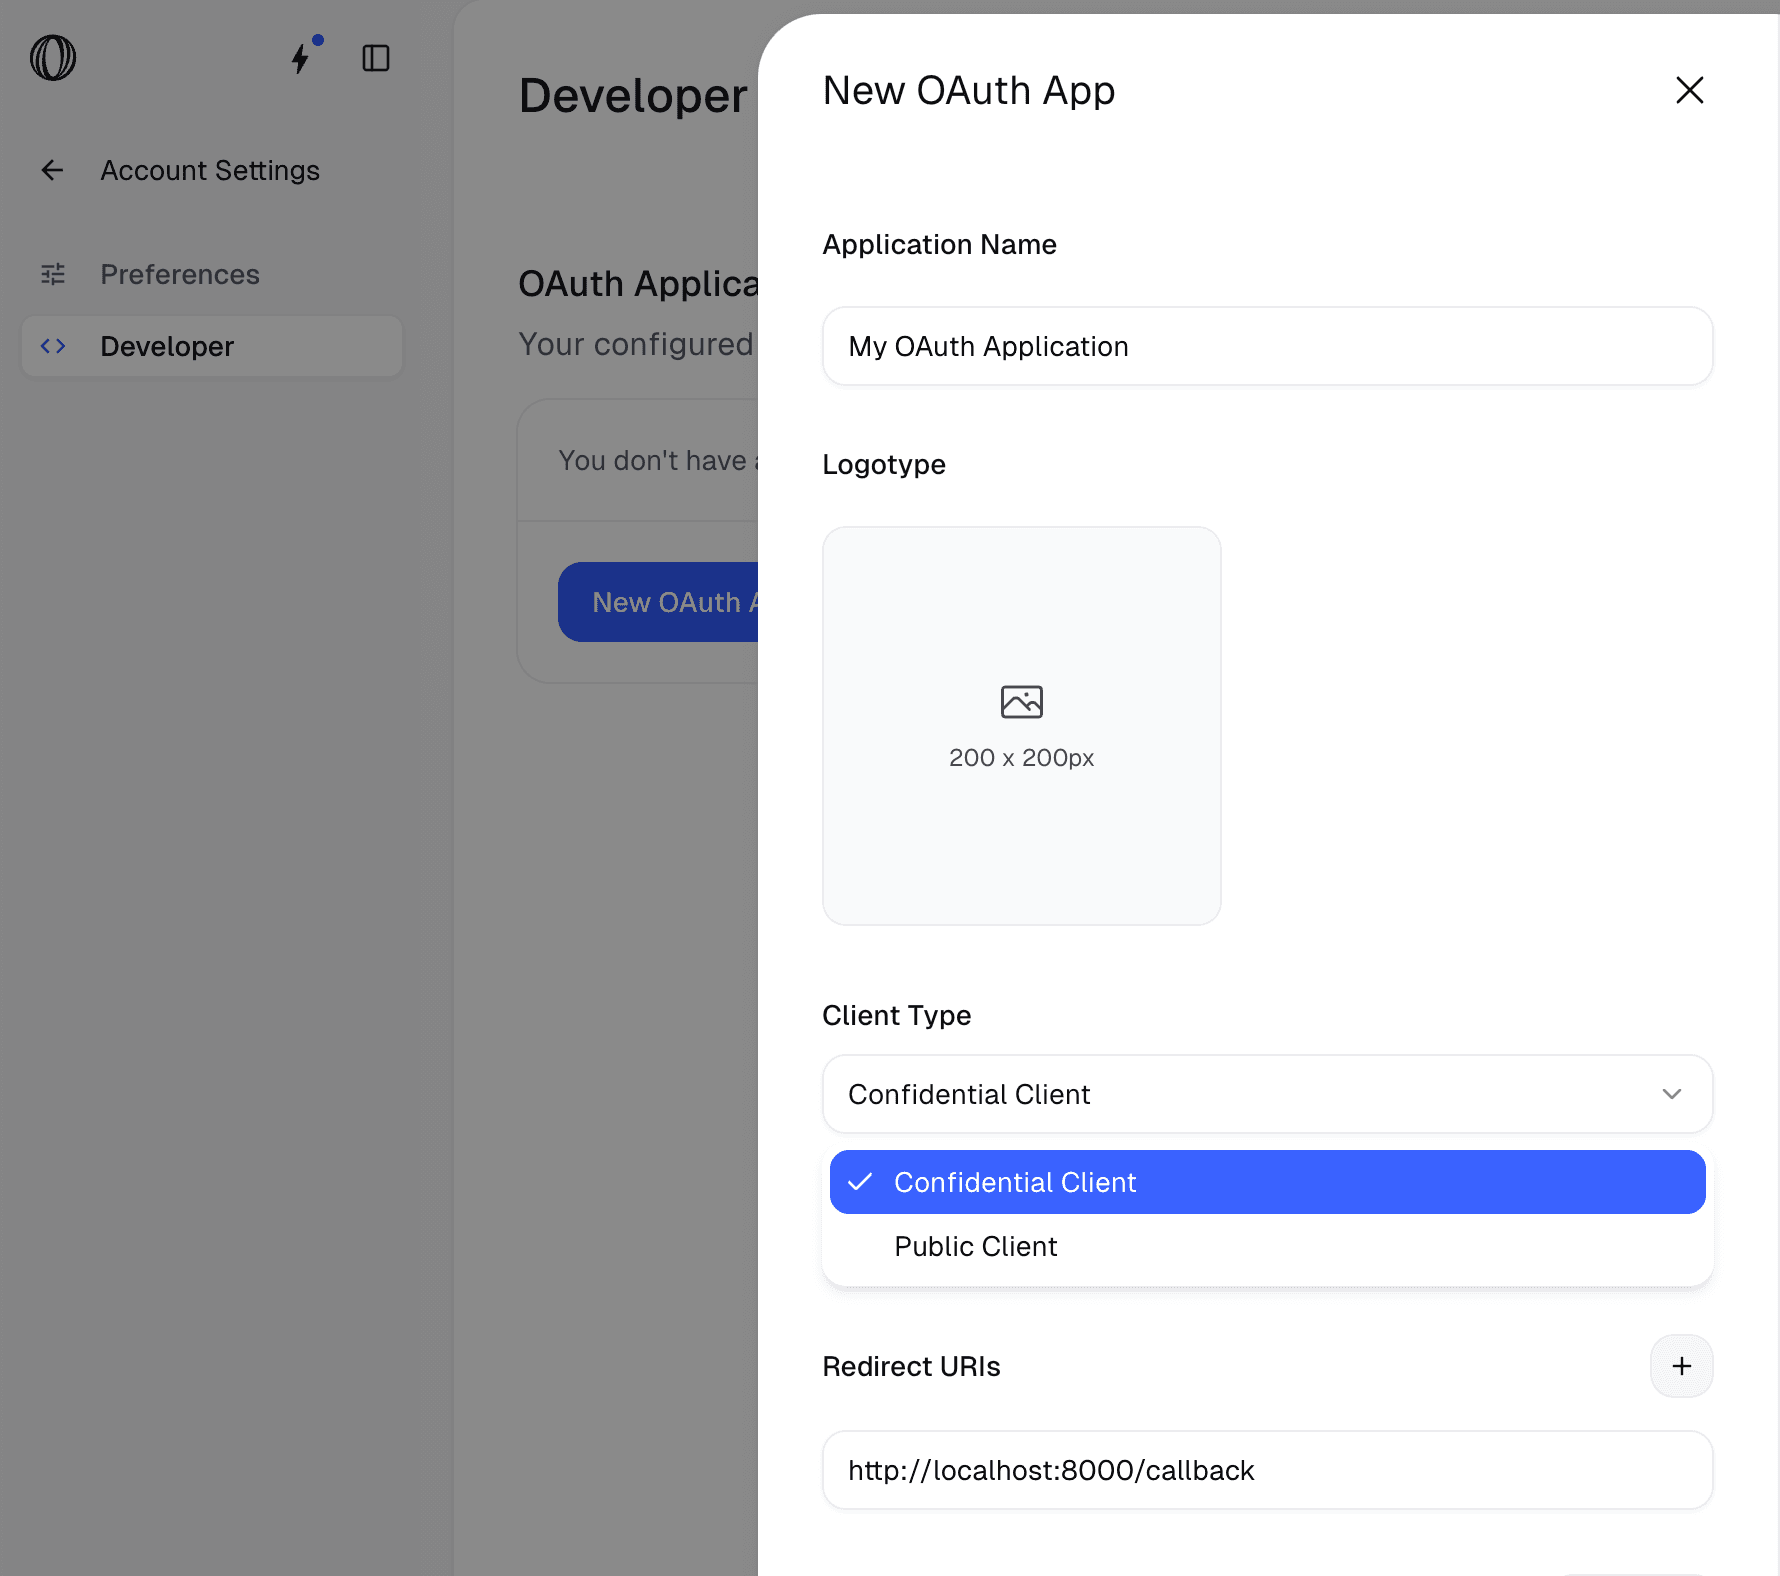
Name of the application that will be shown to the final users.
Upload a logo to be shown on the authorization screen.
Confidential Client or Public ClientURL(s) where the users will be redirected after granting access to their data.
When configuring your OAuth client, you must use an
https:// URL for security reasons. We block http:// URLs, except when the hostname is localhost. This exception allows you to use http://localhost for convenient testing in development mode.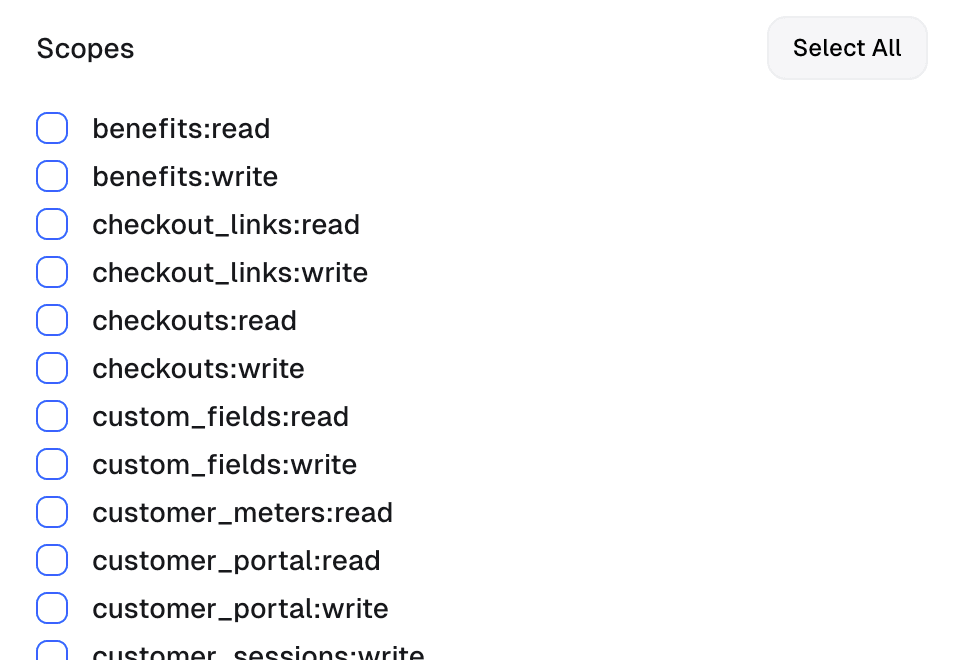
The list of scopes your app will be able to ask for.
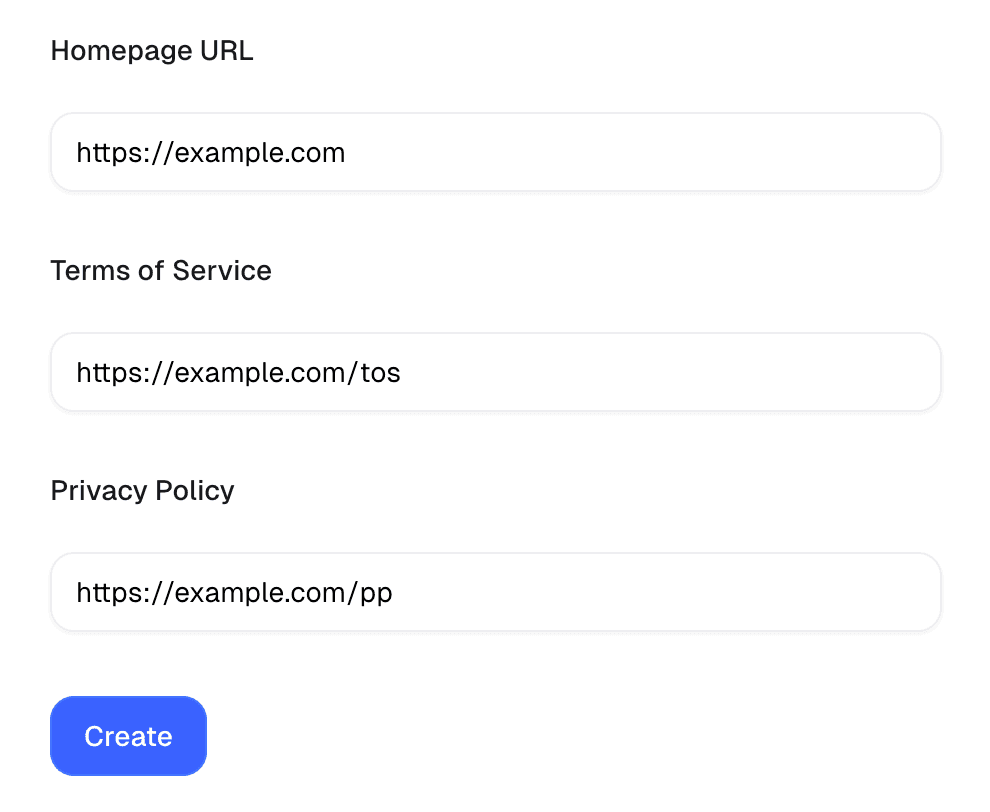
URL of your application. It will be shown to the final users on the authorization page.
URL to your application’s terms of service.
URL to your application’s privacy policy.